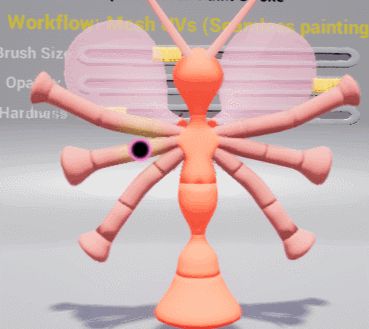
Preparing your Mesh for painting
Introduction
Before reading this page make sure you’ve reviewed the Quick Start Guide and Choosing your Workflow articles to gain familiarity with some of the terms used here.
The preparation needed for painting on a mesh depends entirely on the UV workflow chosen for painting, so it is good idea to know which workflow (mesh-space / world-space / local-space) you want to use first.
Preparing a Mesh for World-Space/Local-Space Painting
No preparation is necessary. This workflow uses location based UVs so you can get started straight away on any kind of mesh.
Preparing a Mesh for full 3D Painting (Mesh-Space UVs)
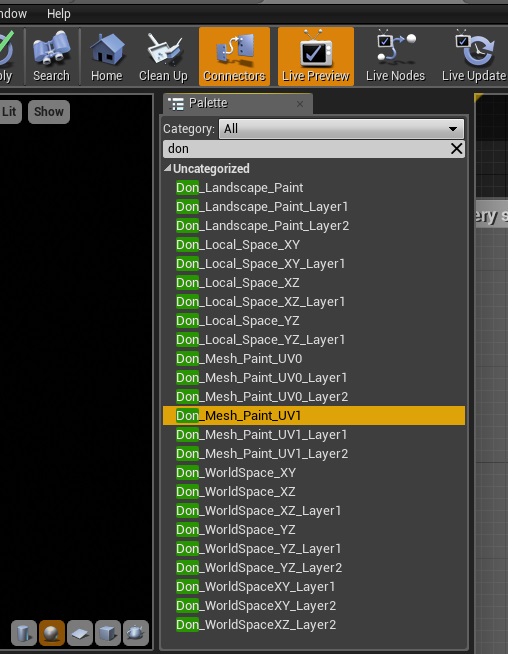
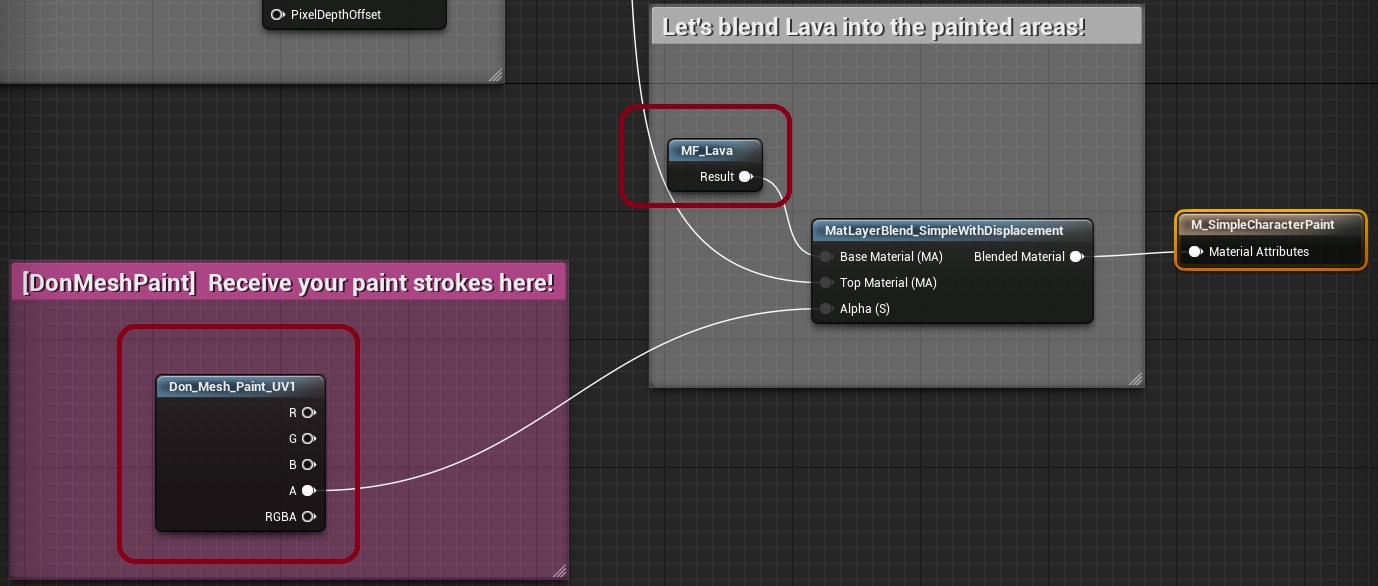
Skeletal meshes: A lightmap UV is compulsory for skeletal meshes in this workflow. So in addition to your regular UV map (UV0), you will need to create a simple lightmap UV on UV1. You will need to ensure that every part of your mesh (per-pixel) has a unique coordinate in the lightmap UV you’ve created. Now you should be able to use Don_Mesh_Paint_UV1 to paint without any issues.
—
Static meshes: A lightmap UV may be necessary for static meshes if you need seamless painting (usually a good thing to have) or if you’re painting across multiple materials. For more information on scenarios where you can get away without a lightmap, see the Choosing your Workflow page.
—
Why do I need to create a lightmap? The lightmap here serves as a “paintmap”. This UV channel is used to bake positions from your mesh onto a lookup texture that facilitates painting. This is currently the only way to paint on skeletal meshes because they do not support Collision UVs (i.e. translation of a HitResult into a UV coordinate). This is also the only workflow that supports fully seamless painting across UV islands (for procedural brushes, not for decals).
—
What is the success criteria for a good paintmap? Every pixel of your mesh needs to resolve to a unique coordinate on your lightmap UV. Basically, no overlapping faces allowed. You’ll know your lightmap is off if you’re simply not be able to paint on certain parts of the mesh. This effect is clearly demonstrated if you try to use a UV0 mesh paint node (instead of the prescribed UV1) for 3D mesh painting. Because UV0 can contain overlapping faces, you will never be able to paint on the faces that are overlapped by another because those pixels will get overwritten by a competing face.
Physics Asset and Trace Channel Considerations
Characters need to ensure that they are painting strokes on the skeletal mesh’s physics asset rather than the root collision capsule. This is because the root collision capsule is usually a very rough approximation of your mesh’s actual geometry and the accuracy obtained from this is nowhere near what you need for smooth painting.
So how do you solve this? While tracing your HitResult (from weapons/etc) you can use a trace channel that the skeletal mesh will block, but the capsule doesn’t (eg: use a collision profile where the character’s Mesh blocks the Camera channel while the Capsule ignores it). This is the approach used by the sample project. Another option is to manually route the skeletal mesh component to the PaintStrokeAtComponent function after extracting the skeletal mesh from Hit Result’s actor.
Speaking of Physics Assets, skeletal meshes will need a physics asset that accurately envelops the geometry of mesh (including any WPO offsets). Because the precision of your painting is directly tied to the hit location supplied to the Paint nodes, you won’t get good results unless your physics asset (or collision capsule if you want to go down that route) accurately approximates the pixels of your mesh. It’s pxiels, rather than vertices here, because it really is the pixel locations that are used to determine where a brush stroke should draw paint.
Preparing a Mesh for Decal/Text projection
Again, if you’re using world-space/local-space painting, no further preparation is necessary. Everything will work out-of-the-box .
For mesh-space text/decal stamping, your preparation will lie in UV island management on the lightmap UV. For best results you’ll need to create large, unbroken UV islands across faces that are most likely to receive decals/text. For example, if you’re painting these across a character’s back (for shirt names/numbers/logos like in the sample project), then you’ll want to create your lightmap UV such that the character’s torso has a single, contiguous UV island that has no seams across the back or front.
Here’s the reason why:
Seamless decal/text projection for mesh-space (non-planar) painting is currently not supported by the plugin. This means that when a UV coordinate has been determined for stamping your decal/text, it will potentially be projected across multiple UV islands, not all of which may be physically co-located with the faces you’re actually targeting. Eg: you could easily move the UV island of a character’s leg right next to the torso and if your decal/text brush size is large enough, then the projection may overflow onto the legs instead of being contained within the torso. To give another example, if the torso were broken into multiple UV islands and placed far away from each other, then a portion of the torso may not receive the effect at all.
Ultimately large contiguous UV islands across important parts of your mesh’s lightmap UV are the best way to mitigate the lack of mesh-space seamless painting for decals/text. Note:- your main UV channel is not bound by these constraints, only your lightmap UV is. You can build your main UV map any way you please.