World Space UVs
On this page:
Introduction
World Space UV nodes allow you to share a single texture across you entire world with world-location based mapping for rendering your effects. They provide fast and seamless painting for landscapes, planar surfaces such as walls, floors, etc, but their use can also be extended to things like tagging certain actors or meshes in your world a certain way or even for post processing materials (like the fog-of-war system included with the sample project).
Compared to mesh-space painting, these do not require any special setup on your mesh and perform significantly faster. An advantage they have over local-space painting is the ability to share a single texture across all interested parties – be it meshes, landscape, post-processing materials or any other entity (eg: CPU driven code performing a texture lookup for simulation!).
It is worth noting that world-space UV is planar, meaning you will always lose control of one axis. You need to choose from the axes combinations of XY plane, XZ plane and YZ plane respectively and determine which plane is of most interest to you. For landscapes and most other usecases, XY is usually the right answer.
Initial Setup
World-Space painting requires you to setup your global bounds before you can start using it effectively.
Here’s how you can do that:
- Go to View Options, enable “Show Plugin Content” in your Content Browser.
- Open MPC_GlobalMeshPainting inside DonMeshPaintingContent/Materials
- Set the “World Min” and “World Max” vector parameters to the lower and upper bounds of your (paintable) world. This is significant, because your paint texture will be UV mapped along these bounds. The default values may not be suitable for your map so be sure to configure a suitable value for your world.
- If you aren’t sure how to work out the min and max values, just place a dummy sphere at your world’s extremities as a guiding point and use the sphere’s actor location (in the world outliner/details panel) to derive the min and max for your world.
Texture Resolution Setup
Because we’re sharing a single texture across a potentially large world, texture resolution quickly starts to become a factor in determining the visual fidelity of your effects. The default texture resolution used on the World Space render target is 4096×4096.
If you need to modify these, you will need to find the appropriate render target for your World Space node (see below). For example, if you’re using Don_World_Space_XY you’ll need to open the corresponding render target inside DonMeshPaintingContent/Textures/RenderTargets/WorldSpace/RT_Don_WorldSpaceXY_Layer0 and so on. Another technique for finding the right asset is to simply open your UV node (eg: Don_World_Space_XY) and click on the texture sampler inside. The default value for that is the asset whose texture resolution you’ll want to tweak.
Finally, let’s now move on to the nodes themselves:
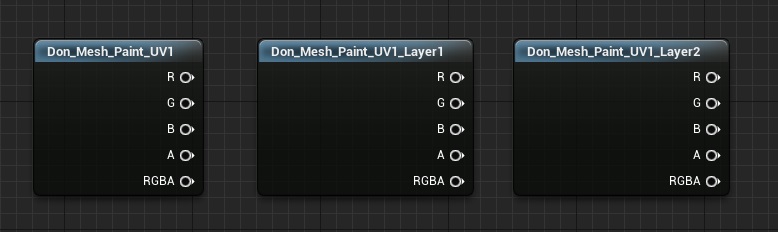
Don World Space XY
This node facilitates painting along the global XY plane, making it ideal for landscapes, water planes, tagging actors, global effects (fog-of-war systems), etc. If you need additional layers for driving global effects that are independent of each other use the nodes suffixed _Layer1, _Layer2 etc.
For packing RGB channels with individual effects see the Packing RGB channel masks page.
The second set of nodes (Don_Landscape_Paint) are simply an alias for former, they’er functionally equivalent.
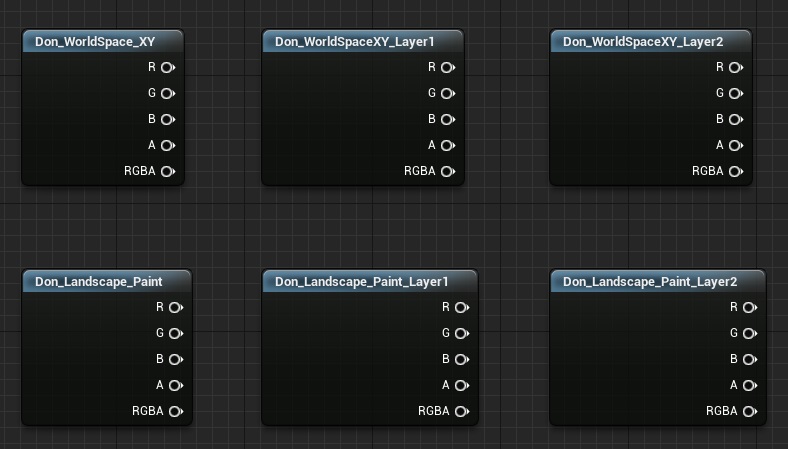
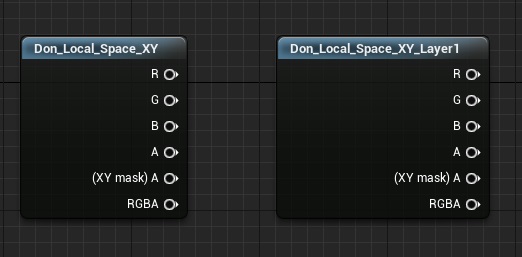
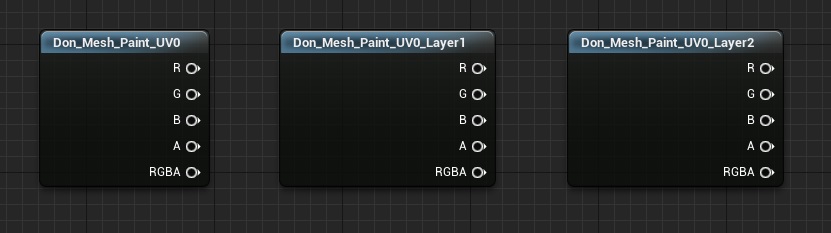
R – The red channel of this paint texture
G – The green channel of this paint texture
B – The blue channel of this paint texture
A – The alpha channel of this paint texture. This tells you which parts of the mesh have been painted and which parts haven’t. Gotcha: Because the default paint brush is an Alpha Composite brush, your alpha is inverted! This means the white parts have not been painted while the black parts have. Remember this while blending your effects.
RGBA – A float4 containing all the channels as a single output
Don World Space XZ
This node facilitates painting along the global XZ plane. One possible use for this is side-scrollers or 2D-ish games where the player’s viewport is cenetered around the XZ (/YZ) plane rather than the floor plane.
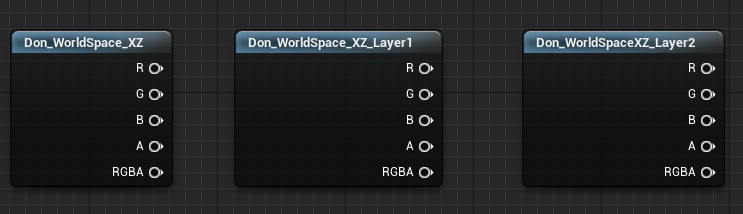
R – The red channel of this paint texture
G – The green channel of this paint texture
B – The blue channel of this paint texture
A – The alpha channel of this paint texture. This tells you which parts of the mesh have been painted and which parts haven’t. Gotcha: Because the default paint brush is an Alpha Composite brush, your alpha is inverted! This means the white parts have not been painted while the black parts have. Remember this while blending your effects.
XZ Masked Alpha – Similar to the alpha channel, but additionally masks out any pixels that are orthogonal to our plane of interest. This is very important for preventing artifacts from building up along the thickness of your planar mesh.
RGBA – A float4 containing all the channels as a single output
Don World Space YZ
This node facilitates painting along the global YZ plane. One possible use for this is side-scrollers or 2D-ish games where the player’s viewport is cenetered around the YZ (/XZ) plane rather than the floor plane.
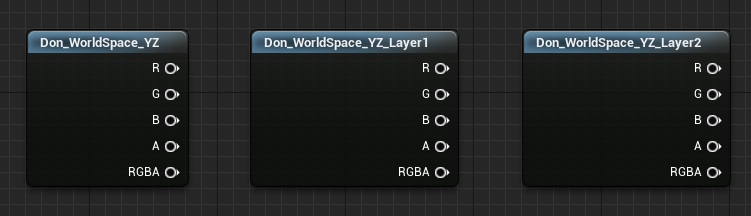
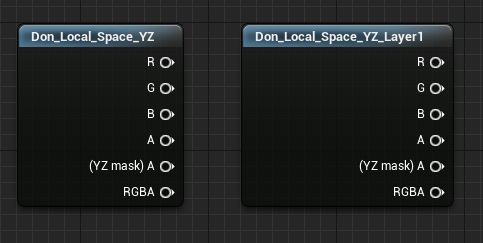
R – The red channel of this paint texture
G – The green channel of this paint texture
B – The blue channel of this paint texture
A – The alpha channel of this paint texture. This tells you which parts of the mesh have been painted and which parts haven’t. Gotcha: Because the default paint brush is an Alpha Composite brush, your alpha is inverted! This means the white parts have not been painted while the black parts have. Remember this while blending your effects.
RGBA – A float4 containing all the channels as a single output